OVERHAUL OF AXLE ASSEMBLY
must be thoroughly cleaned to prevent the possibility of
The instructions contained herein cover the disassembly
dirt and foreign matter entering the mechanism.
and reassembly of the axle assembly in a sequence that
would normally be followed after the unit has been re-
NOTE: Placing axles on steel horses facilitates disassem-
moved from the machine and is to be completely over-
bly and reassembly. Greater stability is gained by resting
hauled.
axle mounting pads on horses so that axles are inverted
from normal operating positions. Photographs showing
CAUTION: Cleanliness is of extreme importance and
this overhaul procedure were taken with axle in inverted
an absolute must in the repair and overhaul of this unit.
Before attempting any repairs, the exterior of the unit
position.
DISASSEMBLY OF AXLE
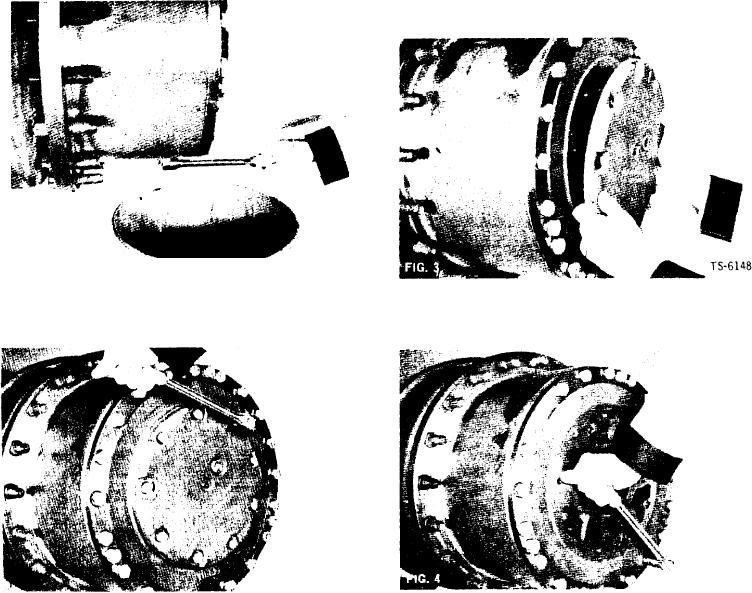
3. Remove sun gear thrust cap (Fig. 3). Remove "O"
1. Remove drain plugs from planetary housings and from
ring from cap.
differential housing to drain axle (Fig. 1).
NOTE: Some early versions of axle assemblies do not
have "O" ring feature in thrust cap.
TS-6146
FIG. 1
4. Remove bolts and lockwashers retaining planet carrier
2. Remove bolts and flat washers securing sun gear thrust
(Fig. 4).
cap (Fig. 2).
TS-6149
TS-6147
[15]

