6. Alternately tack weld cutting edge to bucket
1. Align and clamp straight edge so that back
sheet on top.
e d g e will line up with front edge of bucket
sheet as shown in view "B".
7. Remove flat plates and continuously weld cut-
ting edge to bucket sheet on top, as shown in
2. Measure up on each side cutting edge the length
views "C" and "D". Top weld (12) is a 3/16 inch
of the line segment (2) from top cutting edge
flush bevel groove weld.
and scribe lines (1) as shown in view "A".
8. Clamp side cutting edges flush against bucket
3 . Guide cutting torch through scribe lines (1)
end plate, bucket sheet and top cutting edge
and down rear of side cutting edges to top cut-
and weld, (9 & 10) view "C", securely. Welds
ting edge as shown in view "A" ; then continue
to bucket end plate are 1/4 inch convex bevel
cutting along back side of straight edge(s) as
groove weld inside and 3/8 inch fillet weld out-
shown in view "B". Remove and discard cutout
side. Welds to cutting edge and bucket sheet
section from bucket. Grind all rough edges on
are 3/4 inch fillet weld inside and 5/8 inch flush
bucket smooth.
bevel groove weld outside. Where the side cut-
ting edge overlaps the bucket sheet on the out-
4. Equally space three flat plates on bucket sheet
side a 3/8 inch fillet weld should be made.
and tack weld in three places as shown in view
"C".
Note: Use a 3/16 inch diameter low hydrogen
electrode equivalent to AWS-E-10016.
5. Position and align new cutting edge assembly
9. Grind all welds inside bucket to present a
flush against bucket sheet and flat plates and
smooth surface for entry of material ; grind the
secure in place with clamps as shown in view
"C".
residue of the tack welds from bucket sheet.
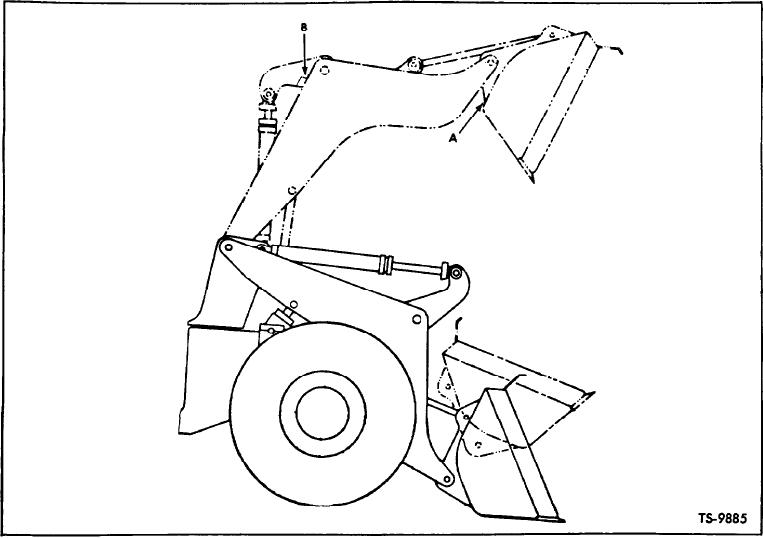
Fig. 43.
Check and Adjust Boom to Bucket Linkage
[45-06-2]

