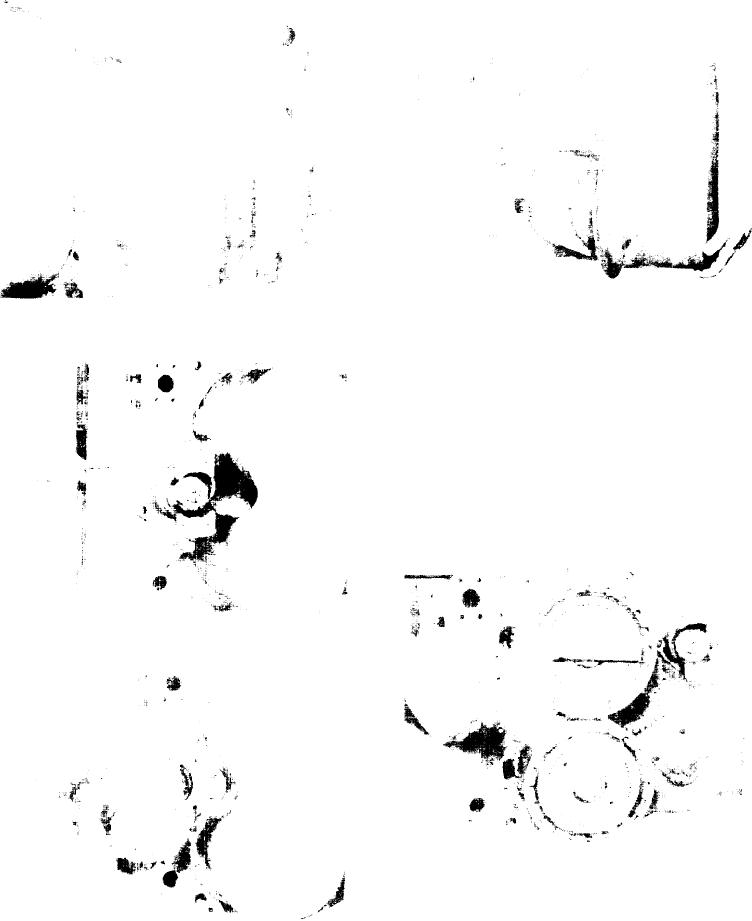
Figure 5
Remove control cover.
Figure 8
Remove 1st and 2nd clutch cover.
NOTE: All clutches are disassembled in a similar
manner. The quantity of clutch discs will differ be-
tween the 1st and 2nd clutch and the forward, reverse,
3rd, and 4th. Do not mix 1st and 2nd clutch plates
with forward, reverse, 3rd and 4th.
Figure 6
Remove disconnect housing bolts.
Figure 7
Figure 9
Remove disconnect assembly.
Depress end plate.
-18-

