TM 5-3805-298-23-4
0421
INSTALLATION CONTINUED
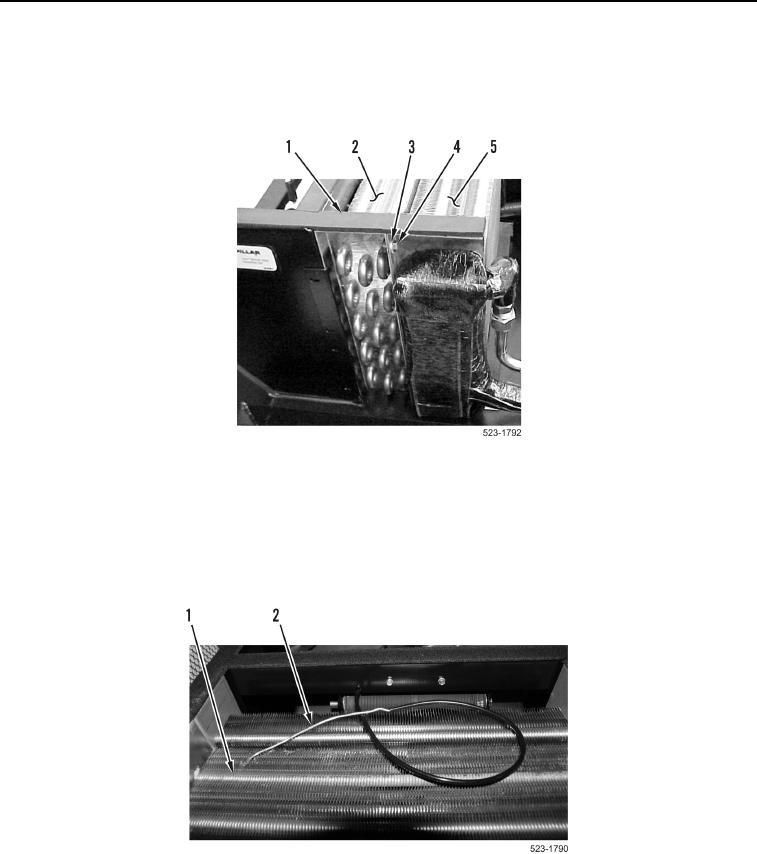
8. Install washer (Figure 19, Item 3) and bolt (Figure 19, Item 4) securing heater coil (Figure 19, Item 2) to
evaporator (Figure 19, Item 5).
9. Cut new foam seal (Figure 19, Item 1) to fit and install on heater coil (Figure 19, Item 2).
Figure 19. Heater Coil Bolt Left Side.
0421
NOTE
Install capillary tube as noted during removal.
10. Carefully install capillary tube (Figure 20, Item 2) in evaporator (Figure 20, Item 1).
Figure 20. Capillary Tube.
0421

