TM 5-3805-255-14
0055
INSTALLATION
00055
1. Be sure mating surfaces of differential carrier (Figure 1, Item 5) and axle housing (Figure 1, Item 7) are
absolutely clean and free of nicks or burrs.
NOTE
Follow manufacturer's instructions for application and curing time for plastic gasket.
2. Coat differential mounting face of axle housing (Figure 1, Item 7) with plastic gasket. Apply a light coating of
plastic gasket to threads of 12 bolts (Figure 1, Item 2).
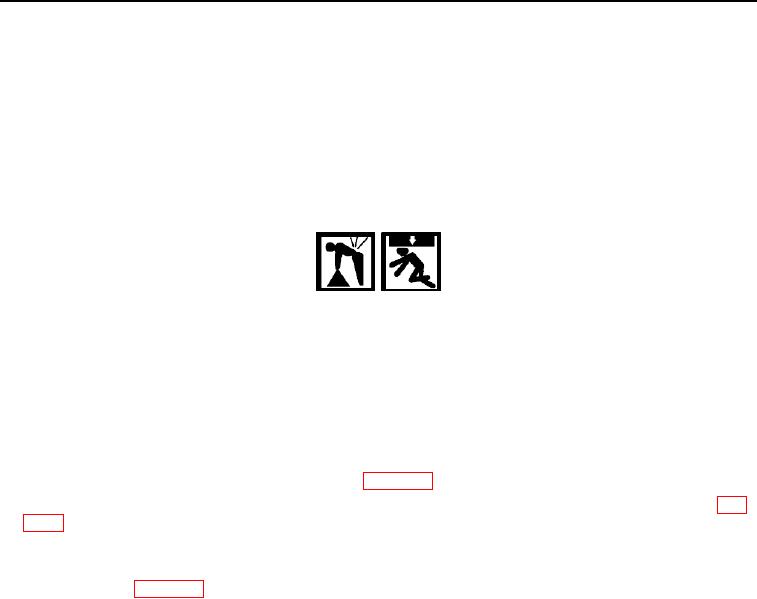
WARNING
Use extreme caution when handling heavy parts. Provide adequate support and use
assistance during procedure. Ensure that any lifting equipment is in good condition and of
suitable load capacity. Keep clear of heavy parts supported by lifting equipment. Failure to
follow this warning may result in injury or death to personnel. In event of injury, seek
medical attention.
3. With axle housing (Figure 1, Item 1) blocked securely, lift differential assembly (Figure 1, Item 5) into position
on axle housing making sure holes are correctly aligned.
4. Install 12 new lockwashers (Figure 1, Item 3) and bolts (Figure 1, Item 2) and tighten capscrews gradually and
evenly around circumference of carrier flange to 150 to 175 lb-ft (203 to 237 Nm).
5. Install two planetaries and axle shafts on rear axle (WP 0054).
6. With drain plug hole in axle housing facing up, fill rear axle with recommended amount of gear lubricant (WP
7. Install new O-ring on drain plug (Figure 1, Item 6) and install drain plug in axle housing (Figure 1, Item 1).
Tighten plug securely.
8. Install rear axle (WP 0054).
END OF TASK
END OF WORK PACKAGE
0055-3/(4 blank)

