TM 5-2420-231-23-3
0366
INSTALLATION CONTINUED
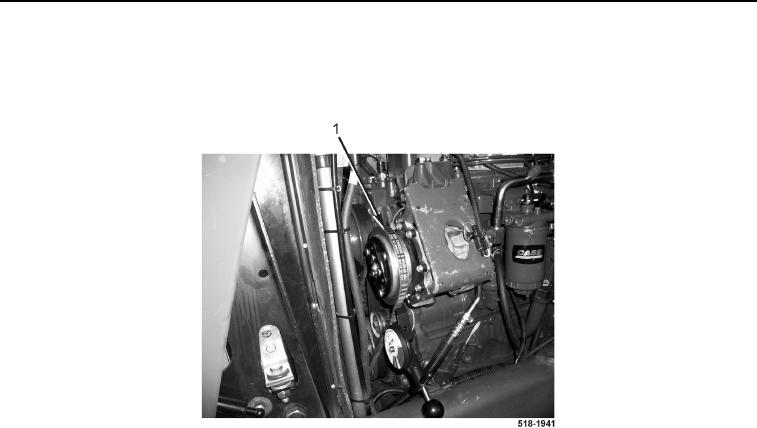
15. Using belt tension gauge, check tension of A/C compressor belt (Figure 10, Item 1). If A/C compressor belt ten-
sion is not 4555 lb (200245 N), loosen bolts and repeat steps 13 through 15.
Figure 10. Belt Tension.
0366
NOTE
Install A/C lines as noted during disassembly.
Lubricate O-rings with A/C refrigerant oil prior to assembly.
16. Lubricate and install new O-ring (Figure 11, Item 6) on A/C discharge hose (Figure 11, Item 5).
17. Connect A/C discharge hose (Figure 11, Item 5) to A/C compressor (Figure 11, Item 7).
18. Lubricate and install new O-ring (Figure 11, Item 4) on A/C suction hose (Figure 11, Item 3).
19. Connect A/C suction hose (Figure 11, Item 3) to A/C compressor (Figure 11, Item 7).
20. Connect A/C compressor clutch wire connector (Figure 11, Item 1) to vehicle wiring harness connector
(Figure 11, Item 8).
21. Install new tiedown strap (Figure 11, Item 2) on A/C compressor clutch wire connector (Figure 11, Item 1) and
A/C compressor mounting bracket (Figure 11, Item 9).

