TM 5-3805-255-14
0049
INSTALLATION
00049
NOTE
Align index marks on propeller shaft with yoke and spider bearing assembly for ease of
assembly. Use new locknuts when assembling propeller shaft.
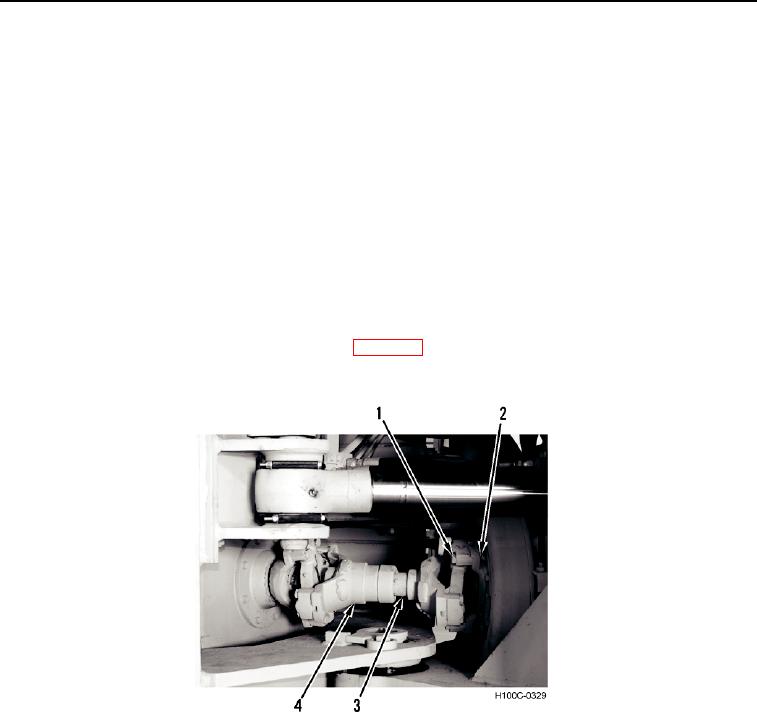
1. Install propeller shaft (Figure 8, Item 4) in loader.
2. Align slip joint end of shaft (Figure 8, Item 3) with marks made at removal. Fit bearing caps securely in grooves
in mounting yokes.
3. Install two capscrews (Figure 8, Item 1) and new locknuts (Figure 8, Item 2) in bearing cap holes that are not
wired.
4. Remove mechanic's wire from remaining two holes and install two capscrews (Figure 8, Item 1) and new
locknuts (Figure 8, Item 2). Discard mechanic's wire.
5. Torque four capscrews (Figure 8, Item 1) and locknuts (Figure 8, Item 2) to 40 to 50 lb-ft (54 to 68 Nm) on
torque-converter-to-transmission propeller shaft, and 90 to 100 lb-ft (122 to 136 Nm) for all other propeller
shafts.
6. Remove pipe plug from slip yoke and apply grease (WP 0013). Install pipe plug. Apply grease to universal joint
fittings at each end of shaft.
Figure 8. Propeller Shaft Installation.
0049
END OF TASK
END OF WORK PACKAGE
0049-7/(8 blank)

