TM 5-3805-290-23-2
ENGINE OIL BYPASS VALVE REPLACEMENT - CONTINUED
0158 00
CLEANING AND INSPECTION
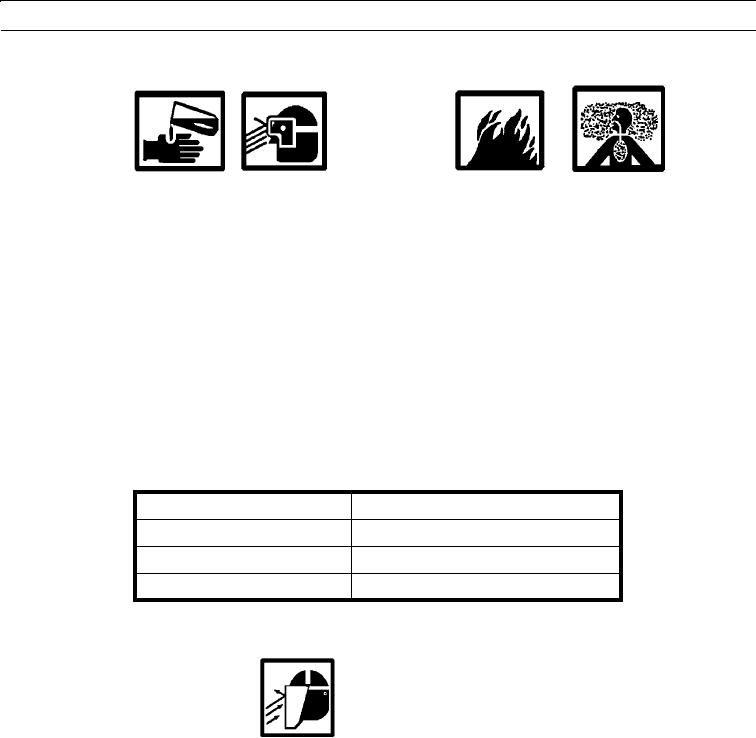
WARN I N G
Solvent cleaning compound MIL-PRF-680 Type III is an environmentally compliant and low-toxic material.
However, it may be irritating to the eyes and skin. Use protective gloves and goggles. Use in well-ventilated
areas. Keep away from open flames and other sources of ignition. Failure to do so may result in injury or
death to personnel.
Particles blown by compressed air are hazardous. DO NOT exceed 15 psi (103 kPa) nozzle pressure when dry-
ing parts with compressed air. DO NOT direct compressed air against human skin. Make sure air stream is
directed away from user and other personnel in the area. To prevent injury, user must wear protective goggles
or face shield. Failure to follow this warning may result in injury to personnel.
1.
Scrape gasket material from mating surfaces.
2.
Clean all parts and mating surfaces with solvent cleaning compound.
3.
Dry parts with compressed air.
4.
Inspect all parts for wear, pitting, cracks, or corrosion and replace if necessary.
5.
Inspect oil passages to ensure they are clean and unobstructed.
6.
Check diameters and clearances using Table 1.
Table 1. Diameter and Clearance Information.
Bypass pressure
50 to 60 psi (345 to 414 kPa)
Diameter of plunger
0.715 to 0.716 in. (18.16 to 18.18 mm)
Diameter of bore for plunger
0.718 to 0.719 in. (18.24 to 18.27 mm)
Clearance of plunger in bore
0.002 to 0.004 in. (0.06 to 0.11 mm)
INSTALLATION
WARN I N G
Take care when removing retaining rings. Retaining rings are under spring tension and can act as projec-
tiles when released and may result in severe eye injury to personnel.
1.
Install plunger (15), spring (14), seat (13), and retaining ring (12) into housing (16). Spring load should be 9.51 to 13.72
lb-ft (12.9 to 18.6 Nm).
2.
Install engine oil bypass valve (9) and bolt (11).
3.
Install tube assembly (8) on engine oil bypass valve (9). Install bolt (10).
4.
Install two socket head bolts (7) that hold tube assembly (8).
5.
Install new gasket (6) and oil suction screen and tube assembly (5).
6.
Install two bolts (4) that hold oil suction screen and tube assembly (5).
7.
Install nut (1) and bolt (2) on bracket (3).
0158 00-3

