TM 5-3805-255-14
0087
CLEANING, INSPECTION, AND REPAIR CONTINUED
00087
Table 1. Cylinder Sleeve Specifications.
ITEM
SPECIFICATION
0
0
Sleeve inside diameter
5.3756 to 5.3766 in. (136.540 to 136.566 mm)
0
Sleeve length
12.47 in. (316.7 mm)
0
Maximum permissible diameter sleeve wear (at top of
0
0.008 in. (0.20 mm)
ring travel) before replacement is necessary
0
Top surface of sleeve flange extends above top surface
0
0.002 to 0.004 in. (0.050 to 0.100 mm)
of crankcase
0
4. Inspect sleeve for scuffing or scoring and replace sleeve (and piston) if necessary.
5. Check counterbore, making sure there are no burrs or fractures, replace if necessary.
Refacing Cylinder Sleeve Counterbore in Crankcase
00087
NOTE
Refer to instructions furnished with counter-boring tool for tool assemblies and counter-
boring procedures.
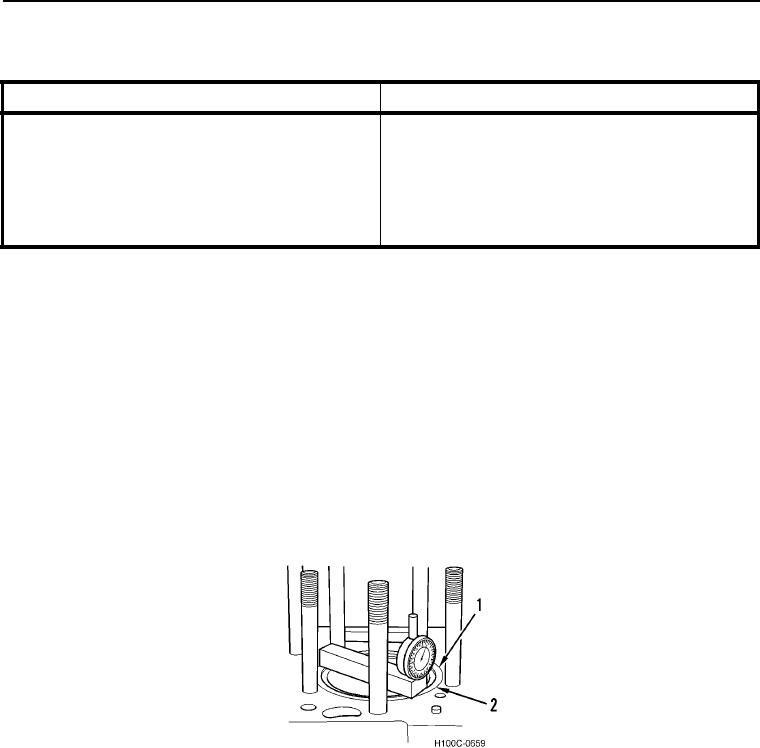
1. Check cylinder sleeve counterbore depth with a depth gauge, 1 020 560 R91, at several points around
counterbore (Figure 4, Item 1). Maximum variation between points of measurement must not exceed 0.002 in.
(0.05 mm) The counterbore must be refaced if it exceeds 0.002 in. (0.05 mm) variation.
2. Use the following counterbore tools: Driver, 1 020 553 R91, Adapter, 1 020 554 R91, Holder, 1 020 557 R1,
and Extension, 1 020 563 R1.
Figure 4. Checking Crankcase Counterbore Depth.
0087
0087-5

