TM 5-3805-262-34
INSPECTION/REPAIR (SHEET 1 OF 3)
NOTE
Replace an item if inspection
indicates need for replacement.
(1)
Inspect key (20) for cracks,
damage, or wear.
(2)
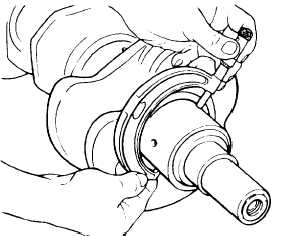
Inspect crankshaft (18) surfaces
for roughness, grooves, scores,
pits, cracks, or evidence of
overheating.
(3)
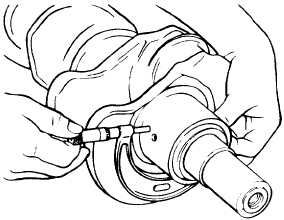
Measure crankshaft (18) main
bearing journals using micrometer
at front and rear of each jour-
nal. If diameters are smaller
than 2.998 inches, use undersize
(0.002 inch) bearing liners. If
main bearing journals are worn
more than 0.002 inch, grind un-
dersize to following dimensions:
Outer Diameter
Undersize (inch)
0.010
0.020
0.030
NOTE
(4)
Grind
to (inches)
2.988 to 2.989
2.978 to 2.979
2.968 to 2.969
If one or more journals are to be ground, grind all journals.
Check main bearing journals 90
degrees from first measurements
for out-of-roundness. If out-
of-roundness exceeds 0.005
inch, regrind journals and use
undersize liners.
4-23


