TM 5-3805-290-23-2
WINDSHIELD FRONT/REAR AND DOORS GLASS REPLACEMENT - CONTINUED
0185 00
REMOVAL - CONTINUED
7.
Remove glass from machine.
8.
Repeat procedure for front side glass panel on opposite side of machine.
9.
Repeat procedure for front center glass panel.
10.
Use holding device to support glass panels and remove from cab.
11.
Repeat removal procedures for door glass and rear windshield.
INSTALLATION
N OT E
Use utility knife to level remaining silicone on cab to make surface consistent.
Apply appropriate primer and paint to cab to cover any scratches resulting from window removal.
1.
Lay new glass on flat work area.
N OT E
Some glass may have a ceramic fretting around the border. If equipped, this surface should face upward.
2.
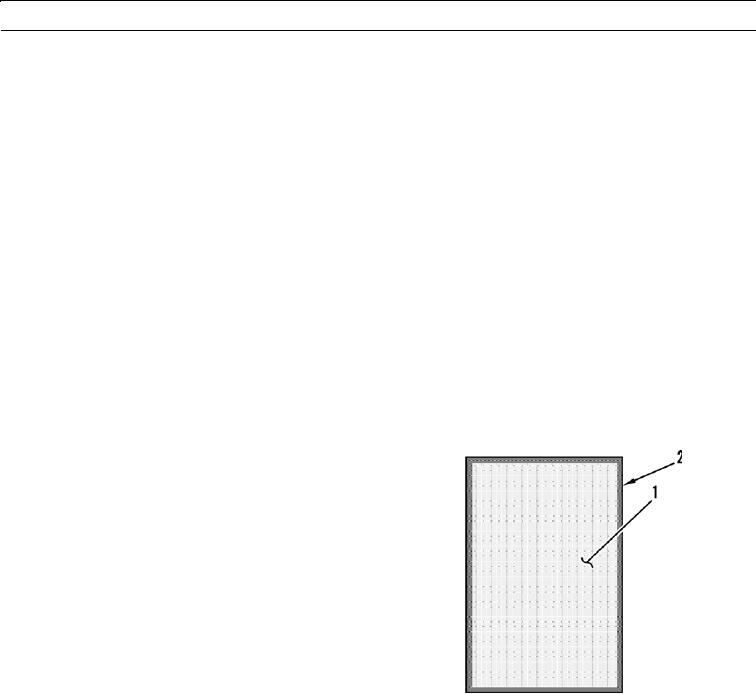
Use tape to cover center area of glass (1). Leave 1.0 in.
(2.5 cm) of exposed area around perimeter (2).
3.
Clean exposed area using glass cleaner by spraying on
area, waiting five seconds, and wiping area using lint
free cloth.
4.
Apply one coat of appropriate primer to exposed area.
Wait approximately 15 minutes for primer to cure
prior to applying urethane adhesive.
427-B1173
CAU T I ON
Window must be installed within 15 minutes of applying adhesive.
N OT E
Make certain that new glass will fit window opening.
Silicone adhesive can be used in place of silicone sealant if temperature is below 32F (0C).
Silicone sealant can be used in place of silicone adhesive if temperature is above 32F (0C).
5.
Apply a layer of adhesive to glass or around window opening approximately 0.24 in. (6.10 mm) in height.
6.
With assistance, position glass in window opening. Press glass into adhesive using firm and even pressure.
0185 00-4

