TM 5-3805-290-23-2
WINDSHIELD FRONT/REAR AND DOORS GLASS REPLACEMENT - CONTINUED
0185 00
INSTALLATION - CONTINUED
CAU T I ON
Avoid slamming cab door for 24 hours as excessive pressure could loosen glass.
N OT E
Align window evenly on both sides if center window is to be installed. Leave a gap of approximately 0.2
in. (5 mm) between the windows.
Ensure that no adhesive contacts unprimed sheet metal or interior of cab.
7.
Tape glass in position for two hours to allow adhesive
to properly cure.
8.
Use cleaner to remove any excess adhesive from glass
or sheet metal.
9.
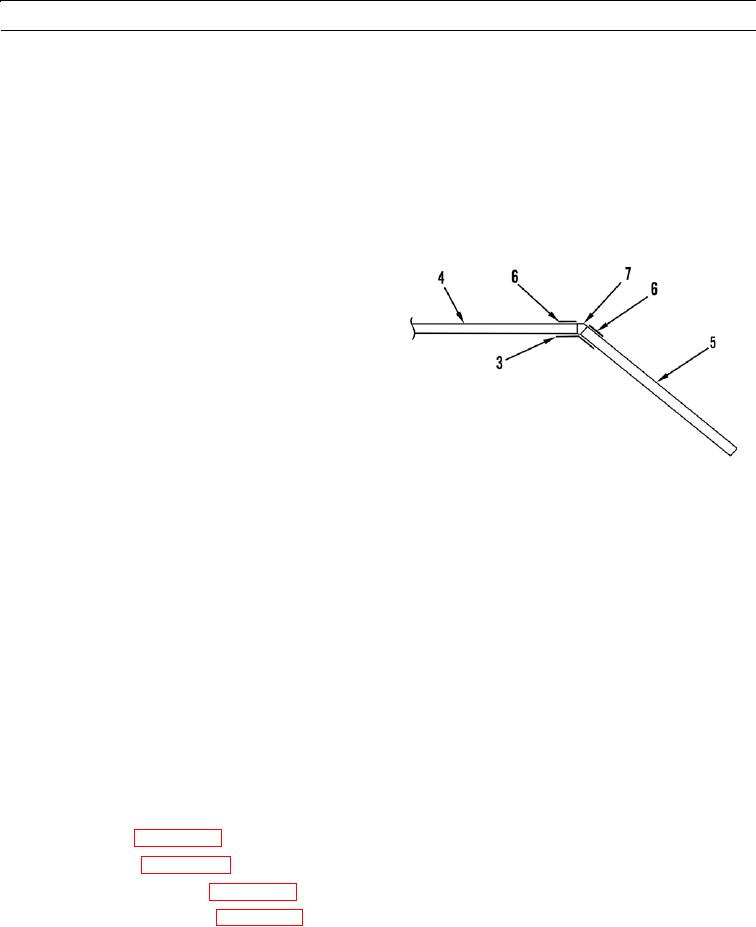
Apply a 3.0 in. (76.2 mm) piece of tape (3) across
inside of glass seam of front center glass (4) and front
side glass (5).
10.
Apply two 1.0 in. (2.5 cm) pieces of tape (6) to outside
of glass, placed approximately 0.15 in. (3.81 mm)
from seam.
11.
Apply silicone to seam (7) on outside of glass.
427-B1174
12.
Remove excess silicone using clean cloth to make
seam smooth and level with glass.
13.
If disconnected, connect rear defroster grid wires.
N OT E
Tape on outside of glass should be removed within two minutes of application of silicone.
Tape on inside of glass should remain in place for 24 hours. The silicone should not tear when tape is
removed.
14.
Repeat installation procedures for door glass and rear windshield.
WAR N I N G
Before operating equipment, secure the steering frame lock in the stowed position. DO NOT operate
machine with steering frame lock connected. Failure to lock steering frame lock into the stowed position
before operating can result in loss of steering and injury or death to personnel.
15.
Secure steering frame lock in stowed position (TM 5-3805-290-10).
16.
Install headliner (WP 0116 00).
17.
Install worklights (WP 0060 00).
18.
Install rear windshield wiper (WP 0120 00).
19.
Install front windshield wiper (WP 0119 00).
END OF WORK PACKAGE
0185 00-5/(0185 00-6 Blank)

