TM 5-3805-292-10
0013
OPERATION CONTINUED
CAUTION
Avoid excessive side loading to auger bit.
DO NOT allow drive to rest on support bracket while drilling or removing from hole.
Failure to follow this caution may result in damage to equipment.
5. Lower auger to ground so that only center point penetrates ground approximately 2 in. (51 mm).
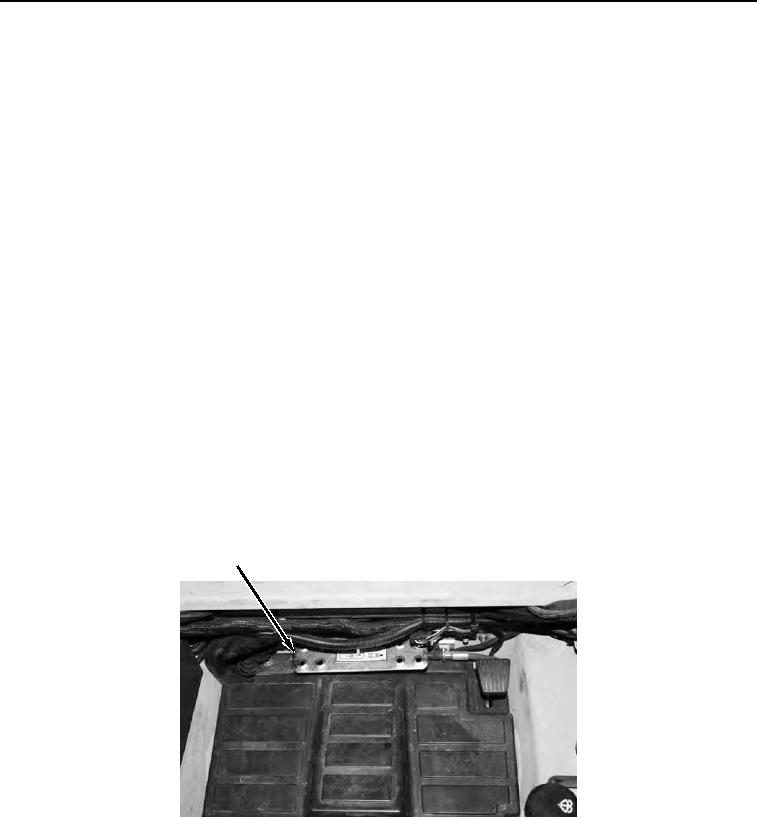
6. Press auxiliary hydraulic foot pedal (Figure 4, Item 1) to right position so auger is turning in clockwise rotation.
Use only enough downward pressure to assure positive penetration of auger into ground. Decrease downward
pressure if auger rotation slows down or stalls. Excessive downward pressure will cause auger to stall fre-
quently.
7. When auger has penetrated ground approximately 24 in. (610 mm), raise auger to remove dirt from hole.
Repeat this procedure until desired hole depth is obtained.
8. Once required hole depth is reached, allow auger to turn a few seconds at this depth to clean hole.
NOTE
DO NOT reverse the auger rotation to remove from hole. Loose soil on auger flights will
fall back into hole.
9. Release auxiliary hydraulic foot pedal (Figure 4, Item 1) to stop rotation of auger. Raise auger out of hole and
back away. Press auxiliary hydraulic foot pedal to spin loose soil off auger.
10. Repeat steps 8 and 9 to obtain cleaner hole.
11. If auger bit gets stuck, reverse auger rotation (counterclockwise) by pressing auxiliary hydraulic foot pedal
(Figure 4, Item 1) to left position and slowly raise auger. Once unstuck, press auxiliary hydraulic foot pedal to
right position and continue digging.
1
458-0062
Figure 4. Auxiliary Hydraulic Foot Pedal.
0013
END OF TASK
END OF WORK PACKAGE
0013-5/(6 blank)

