11, Install four case bolts in alternate holes and tighten
its equivalent thickness. Use four pinion oil seal re-
them evenly until all are seated, taking care that No-
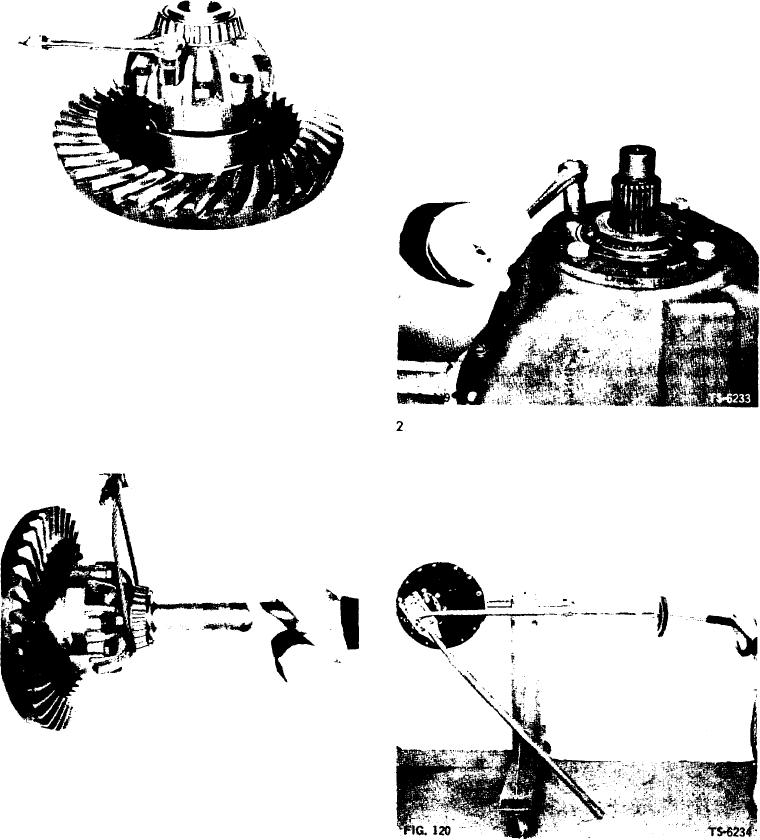
tainer bolts with flat washers to pull pinion shaft as-
SPIN parts do not bind (Fig. 117). Install remaining
sembly fully into carrier assembly (Fig. 119). Make sure
bolts and tighten all bolts to specified torque as
oil passages are aligned.
shown in Fig. 105.
NOTE: Some differential carrier housings have blind
tapped holes for mounting pinion shaft assembly. If
holes are blind, use stacks of flat washers on bolts
when installing pinion shaft assembly without oil seal
retainer to prevent bolts from bottoming in blind holes.
FIG. 117
TS-6208
12. After torquing bolts, insert axle shaft into differential
so that it engages side gear and check for backlash
between clutch teeth of No SPIN differential (Fig.
118). A backlash of approximately 5/32 inch must
be present. If proper backlash does not exist, dis-
assemble differential case halves and recheck for
Temporarily install companion flange on end of pinion
correct assembly. After reassembly, torque case bolts
shaft without installing pinion oil seal retainer. install
and lockwire bolts in pairs as shown in Fig. 106.
companion flange retaining tool on companion flange
using spacers shown in Fig. 30 and socket shown in
Fig. 31. Torque companion Range nut to 600 ft. Ibs.
(Fig. 120).
FIG. 118
TS-6232
Reassembly of Differential and Carrier
1. Install bearing cage and pinion shaft assembly in dif-
ferential carrier assembly, using original shim pack or
[38]

