
TM 5-3805-290-23-2
FUEL INJECTOR ASSEMBLY REPLACEMENT - CONTINUED
0163 00
INSTALLATION - CONTINUED
CAU T I ON
DO NOT rotate fuel injector nozzle after installation. The seal made by antiseize compound may
break. A broken seal may allow leakage past seat of fuel injector nozzle.
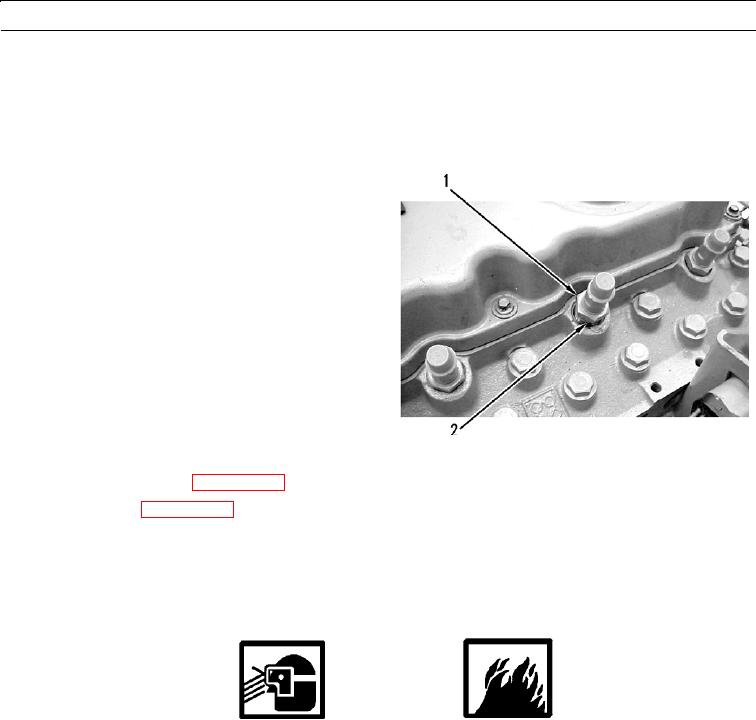
6.
Tighten threaded nut (1) to 22 lb-ft (30 Nm). Remove
any excess antiseize compound from fuel injector noz-
zle (2).
427-B0057
7.
Connect fuel injector lines (WP 0030 00).
8.
Prime fuel system (WP 0029 00).
9.
Run engine and verify correct operation of fuel injector nozzles (TM 5-3805-290-10).
10.
Shut down engine (TM 5-3805-290-10).
TESTING
WARN I N G
Ensure eye protection is worn at all times during testing. When fuel injection nozzles are tested, test fluid
travels through orifices of nozzle tips at high pressure. Under this amount of pressure, test fluid can
pierce skin and cause injury to personnel. Always keep tip of fuel injection nozzle pointed away from
personnel and into fuel collector and extension. Failure to follow this warning may result in injury to
personnel.
DO NOT perform fuel system checks, inspections, or maintenance while smoking or near fire, flames, or
sparks. Fuel may ignite, causing injury or death to personnel or damage to equipment.
CAU T I ON
Extra care should be taken when handling fuel injector nozzles in order to prevent damage to nozzle
tip. A scratch or burr can cause needle leakage or spray distortion. Dirt in orifices of nozzle tip can
damage engine components. Dirt can also distort spray pattern of nozzle.
0163 00-4