Engine Systems
attached near the outlet side of the cleaner. As the
restriction in the cleaner increases, suction created will
pull the indicator plunger upward. A brightly colored
card, attached to the plunger and visible through a
small window in the indicator, will indicate the relative
amount of air restriction in the cleaner. When the card
is fully visible, the air cleaner should be cleaned and
the indicator reset by pushing the plunger all the way
up and then releasing it.
Service
The first stage centrifugal air cleaner tends to be self
cleaning due to the action of the exhaust gas aspirator.
However, it should be inspected and any accumulated
foreign material removed during the periodic
replacement of the impregnated paper filter element.
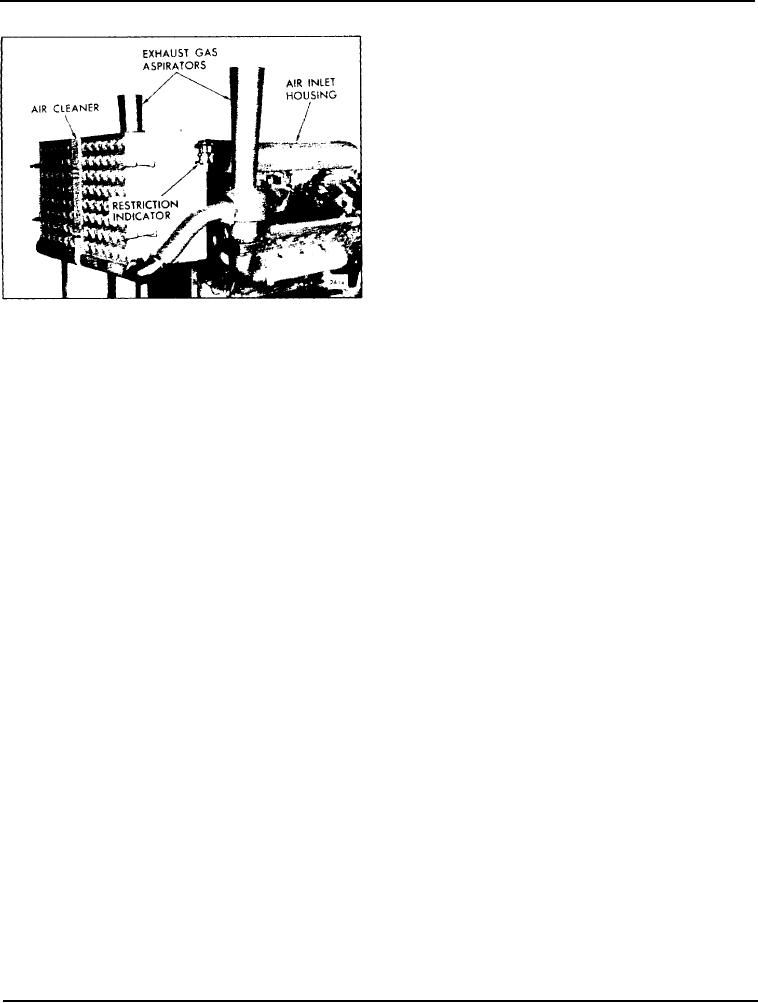
Fig. 10 - Typical Dry Type Air Cleaner
Overloading of the paper element will not cause dirt
Mounting
particles to by-pass the filter and enter the engine, but
will result in starving the engine for air.
The exhaust gas aspirator is connected into the exhaust
system of the engine (Fig. 10). A flexible hose carries
The filter element may be replaced as follows:
the dust particles from the cleaner dust bin to the
aspirator where the waste energy of the exhaust gases
1. Disconnect the flexible aspirator hose at the dust bin
draws the dust-laden bleed -off air out and discharges
of the air cleaner.
it into the atmosphere along with the engine exhaust
2. Loosen the wing nuts on the filter fasteners and
gases. Approximately 90% of the total dust load is
swing the retaining bolts away from the cleaner.
disposed of in this manner. The centrifugal air cleaner
is fully effective at either high or low velocities.
3. Lift the cleaner away from the housing and inspect
it. Clean out any accumulated foreign material.
The remainder of the air in the cleaner reverses
direction and spirals back along the discharge tubes
4. Withdraw the paper filter element and discard it.
again centrifugally moving the air. The filtered air
5. Install a new filter element. New sealing gaskets are
then reverses direction again and enters the replace-
provided with the element to insure a positive air seal
able filter element through the center portion of the
at all times.
discharge tubes. The air is filtered once more as it
passes through the pleats of the impregnated paper
6. Install the cleaner and secure it in place with the
element before leaving the outlet port of the cleaner
fasteners.
housing.
7. Connect the aspirator hose to the dust bin, making
sure the connection is air tight.
An air cleaner restriction indicator (Fig. 10) may be
Page 19

