TM 5-3805-292-23
0087
ASSEMBLY
1. Lubricate new seal (Figure 3, Item 4) with clean hydraulic oil and install in cylinder head (Figure 3, Item 1).
2. Lubricate new seal (Figure 3, Item 5) with clean hydraulic oil and install in cylinder head (Figure 3, Item 1). Install
seal so lips are toward small end of cylinder head.
3. Lubricate new seal (Figure 3, Item 6) with clean hydraulic oil and install in cylinder head (Figure 3, Item 1).
Seal lips must be toward large end of cylinder head.
4. Lubricate washer (Figure 3, Item 2) with clean hydraulic oil and install in groove on outside of cylinder head
(Figure 3, Item 1). Install washer with flat side toward large end of cylinder head.
5. Lubricate new O-ring (Figure 3, Item 3) with clean hydraulic oil and install in groove next to washer (Figure 3,
Item 2) on outside of cylinder head (Figure 3, Item 1).
6. Remove any marks and sharp edges on chamfer at end of piston rod (Figure 3, Item 13).
7. Lubricate bore of cylinder head (Figure 3, Item 1) with clean hydraulic oil.
8. Push cylinder head (Figure 3, Item 1) onto piston rod (Figure 3, Item 13). If cylinder head will not slide easily
onto piston rod, a soft hammer may be used.
9. Place a support below and near end of piston rod (Figure 3, Item 13) to prevent damage to piston rod.
10. Install piston (Figure 3, Item 10) on end of piston rod (Figure 3, Item 13).
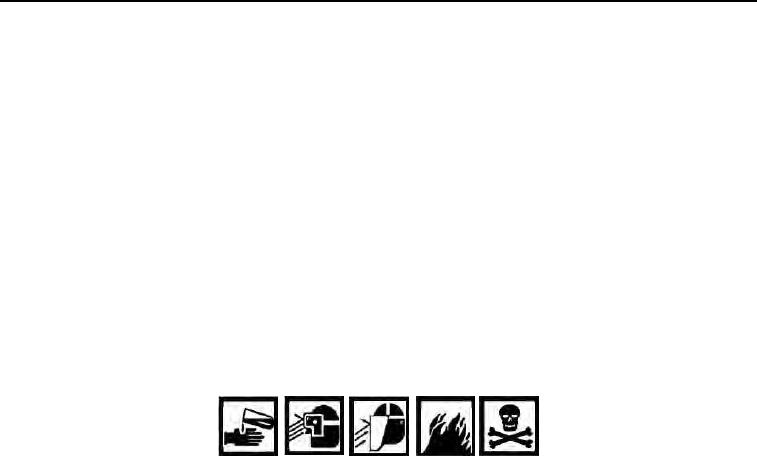
WARN I N G
Use caution when using adhesives and sealants. Prolonged inhalation of vapors can
cause lung irritation. Contact with skin can cause dermatitis. Wear gloves and safety
goggles and use product in a well-ventilated area away from open flame. If ingested, keep
individual calm and seek medical attention. DO NOT induce vomiting. If contact with skin
or eyes is made, flush thoroughly with water. Dispose of cleanup rags IAW local policy
and ordinances. Failure to follow this warning may result in injury to personnel.
C AU T I O N
Do not apply sealing compound to the first 1/4 in. of the piston rod.
11. Apply sealing compound to piston rod threads, 1/4 in. from open end of piston rod. Apply 1/2 in. of sealing
compound to piston rod threads.
12. Install nut (Figure 3, Item 9) on piston rod (Figure 3, Item 13) and torque to 270 to 346 lb-ft (365 to 469 Nm).
13. Lubricate new seal (Figure 3, Item 12) with clean hydraulic oil and install in center groove on outside of piston
(Figure 3, Item 10).
14. Lubricate new wear ring (Figure 3, Item 11) with clean hydraulic oil and install in end groove on opposite end of
piston (Figure 3, Item 10).
15. Lubricate inside of tilt cylinder (Figure 3, Item 7) and piston (Figure 3, Item 10) with clean hydraulic oil.
16. Push tilt cylinder (Figure 3, Item 7) straight onto piston (Figure 3, Item 10).
17. Start tilt cylinder (Figure 3, Item 7) onto piston rod (Figure 3, Item 13) assembly.
18. When piston (Figure 3, Item 10) is in smooth part of tilt cylinder, start cylinder head (Figure 3, Item 1) into tilt
cylinder.
19. Lubricate O-ring (Figure 3, Item 3) on cylinder head (Figure 3, Item 1) with clean hydraulic oil.
20. Tighten cylinder head (Figure 3, Item 1) to 300 50 lb-ft (407 68 Nm).
21. Install fitting (Figure 3, Item 8) on tilt cylinder (Figure 3, Item 7).
END OF TASK
0087-5

